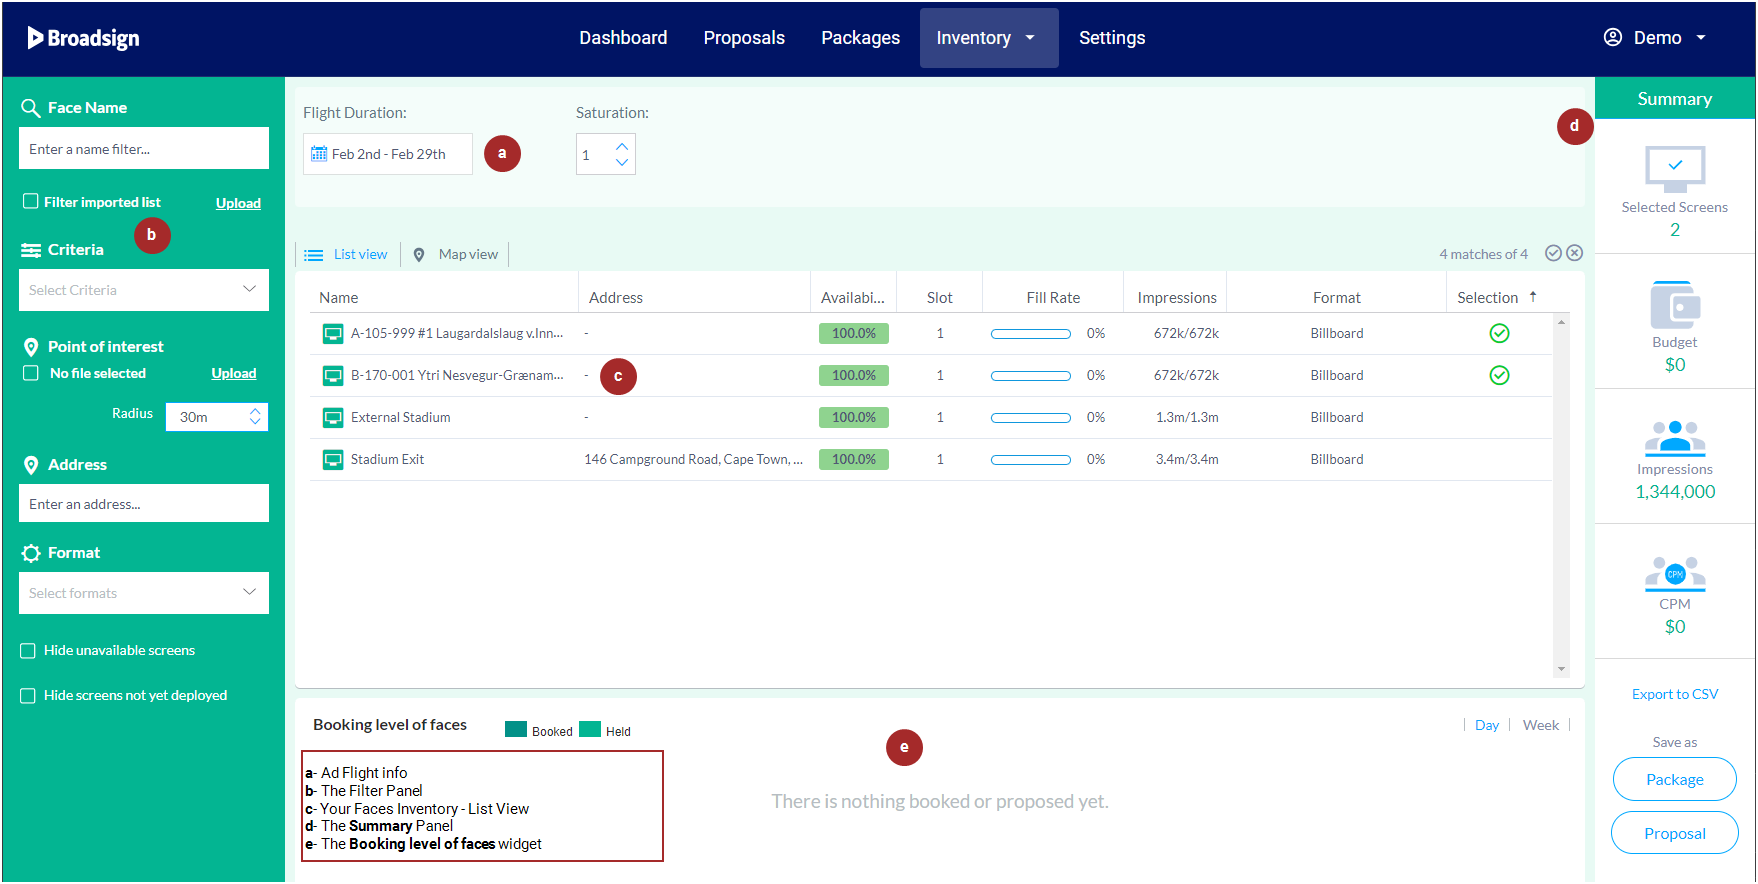
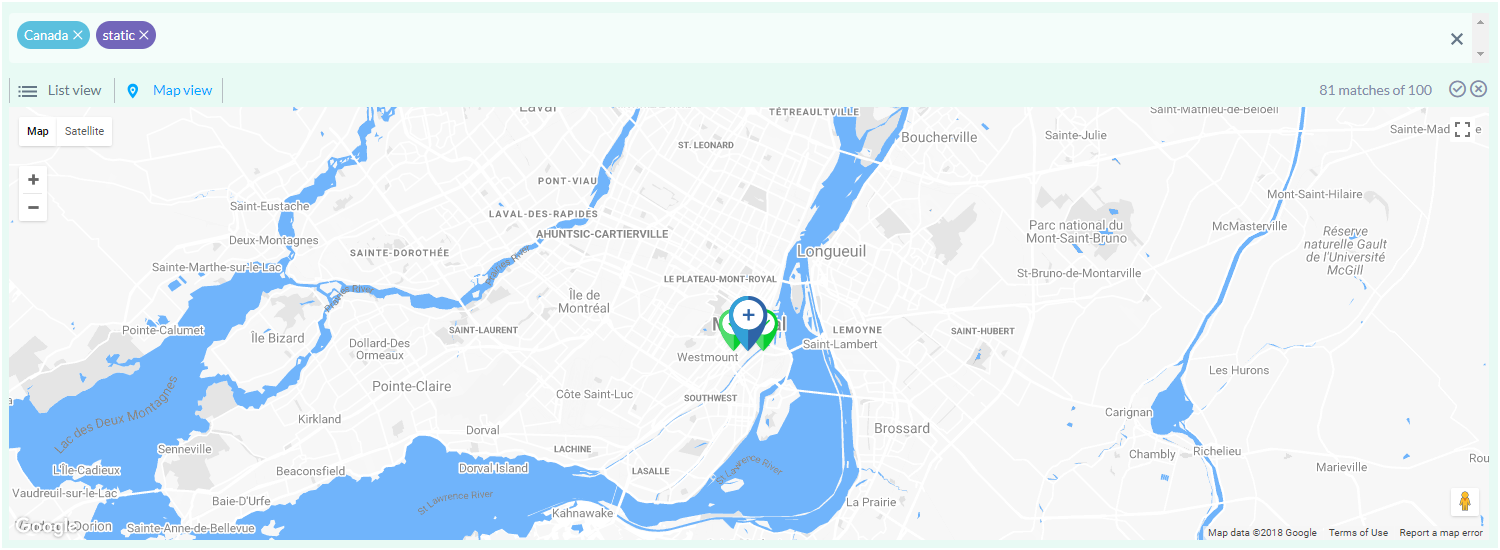
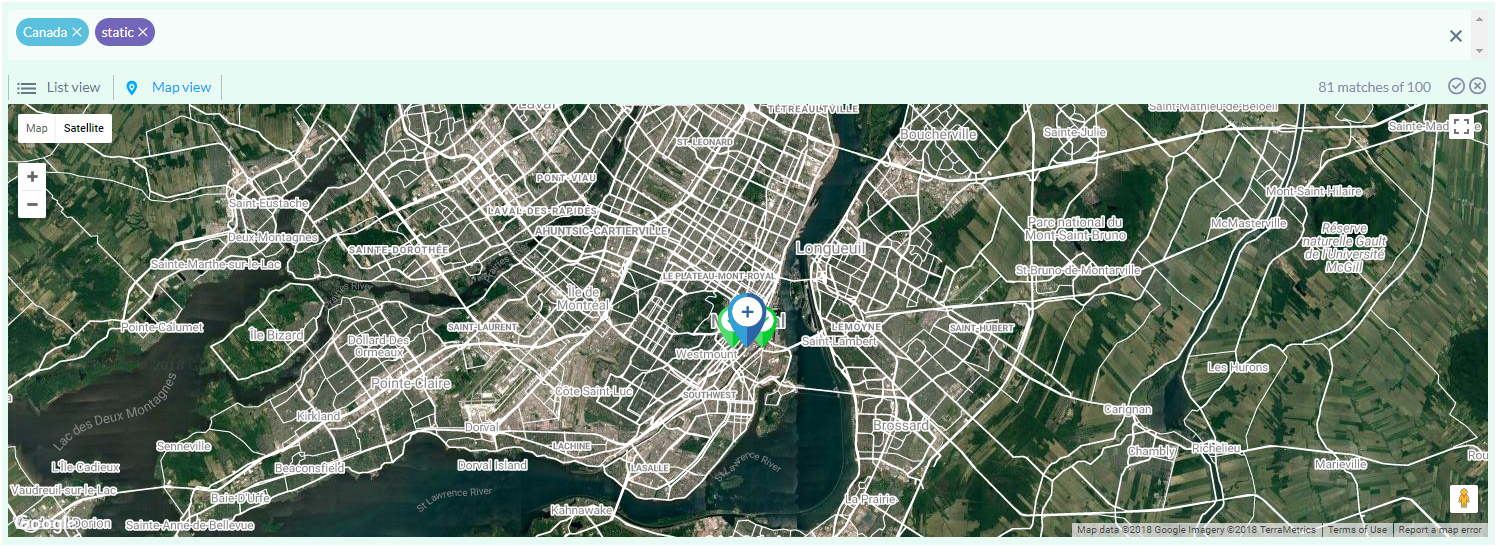
Broadsign Direct's static inventory page displays a list of all non-digital advertising faces on your network. You can filter, sort, and view your static inventory in list view or map view.
Tip: If you are creating or editing a proposal item from the Proposal Builder, the static inventory modal window that is displayed has very similar functionality to the Static Inventory page. See Select Faces Manually.
Once you filter and sort your faces, you can perform a few tasks:
- Create specialized proposals containing faces selected "à la carte". See Access the Proposal Builder and Proposal Builder.
- Build packages that your sales team can target at a later time. See Package Builder.
You can add your own static inventory that includes the location of all of the faces in your network. Static inventory will show only after it is imported.
For more information, refer to Set Up Static Inventory.
The filter panel enables you to narrow down your static inventory. As a result, you can better match your clients' requirements when building packages (see About Packages) or creating proposals (see About Proposals).
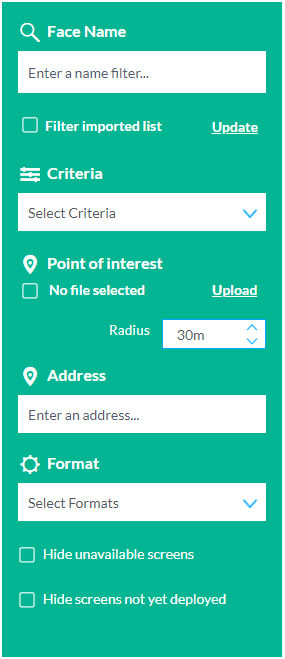
Filter Panel Sections
| Section | Description |
|---|---|
|
Enter part (or all) of a face name. Press Enter or click away from the box to apply the filter. |

|
Use the Upload link to access a window where you will be able to use a list of faces as a filter. Check the Filter imported list option to apply the filter. For more information, see Filter the Inventory List Using an Imported List of Faces. |

|
Type or select a criterion. For more information, see Search Screens by Criteria. |
|
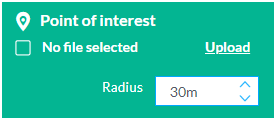
Upload a .csv file containing points of interest (for example, landmarks, well-known buildings, etc.). For more information, see About Points of Interest. |

|
Enter part (or all) of an address, and then select one from the list that appears. If the address applies to more than one face, they will appear as one option (for example, “United States”). |

|
Click the Format box to reveal the list of available formats (for example, billboard, poster, scroller). |

|
Select Hide unavailable screens to immediately narrow your face list to only those that are available. Note: This feature works within the date range you set in the Flight Duration selector. See The Flight Duration Selector. |

|
Select Hide screens not yet deployed to immediately narrow your face list to only those that you have deployed. For example, with this filter you could hide faces that are still under construction. |
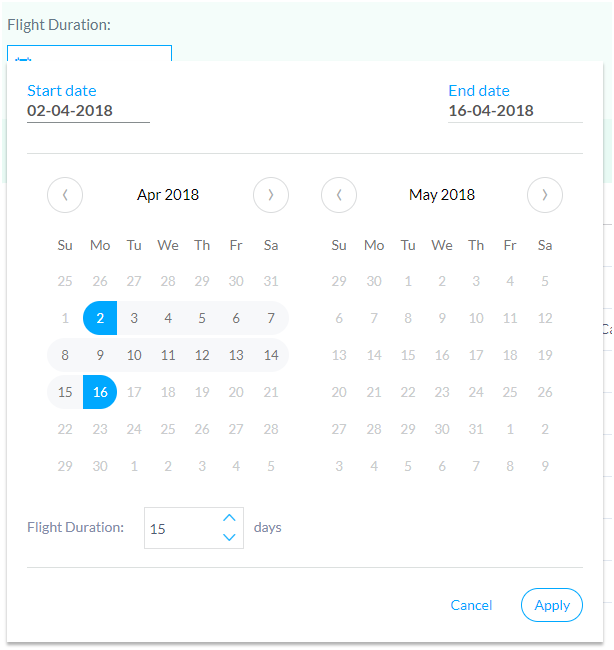
With the flight duration selector, you can specify time range. With this setting, Broadsign Direct calculates the availability of the faces in your narrowed list (i.e., the fill rate).
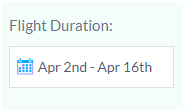
When you click on the date box, the calendar dialogue box appears:
Calendar Sections
| Section | Description |
|---|---|
|
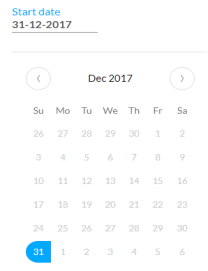
Enter or select the start date of the date range you want to use to calculate face availability. |
|
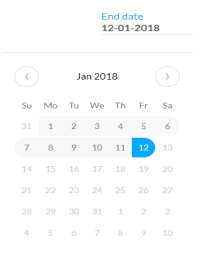
Enter or select the end date of the date range you want to use to calculate face availability. |

|
Displays the duration of your selected ad flight, in days. |

|
To cancel the settings you have entered, click Cancel. To save your changes and apply them to the face inventory, click Apply. |
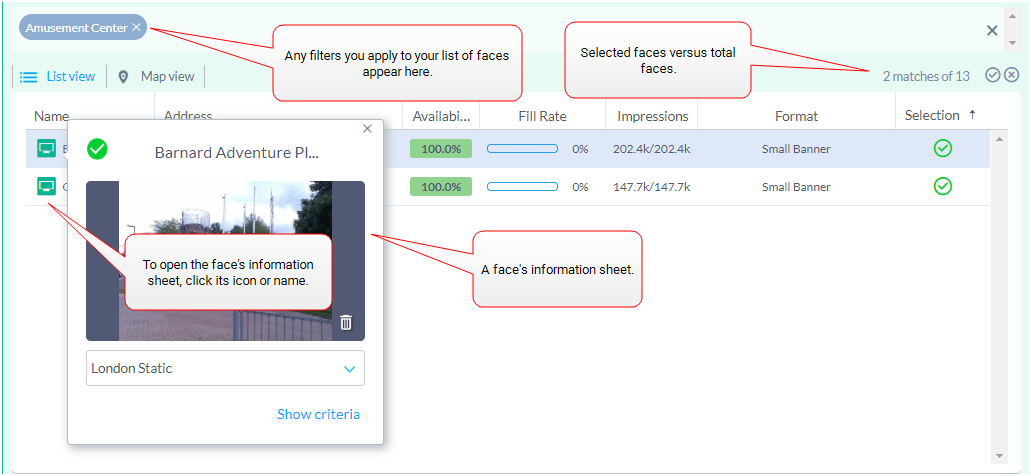
The face inventory in list view displays a list of all faces on your network. You can narrow the list using the filter panel (see The Filter Panel).
Also, each face has an information card showing details of that particular screen. Your Admin can associate an image with the screen.
Note: If you apply filters to your faces while in List View, and then select Map View, the same filters apply. In other words, those faces that appear in List View will also appear in Map View.
Static Inventory - List View - Components
| Column | Description |
|---|---|
| Name |
The face’s name. Assigned by your scheduling team. See Submit your Company Information to Broadsign. If you click the face icon or the face name, its information sheet appears. If you have the Admin role, you can assign an image to the screen. See User Privileges by Role. |
| Address | The physical address of the face. Entered by your scheduling team. For more information, see Submit your Company Information to Broadsign. |
| Availability |
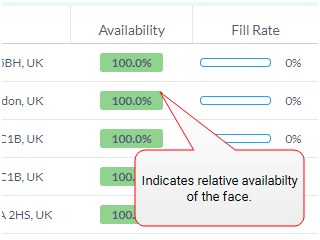
Within the limits of the flight duration details you entered, indicates the percentage of availability for package or proposal creation:
Note: It is possible for a face to exist in your inventory, but be down for construction, for example. |
| Slot | Indicates the number of slots available for the selected flight duration. Slots must be fully available to be counted. For example, given a two-week flight duration, if there is no availability during the first week and one static face (slot) is available in the second week, the Slot value will be 0 even if there is partial availability in the Availability column. |
| Fill Rate | Indicates the fill rate, in percentage terms, of the face for the flight duration you set. If you click the fill rate percentage, a dialogue box opens with a list of the proposals that your network has built including the face. For more information, see Screen Availability. |
| Impression |
Provides a ratio of filtered impressions to total impressions. Recall that the audience filter in the Filter Panel sorts the face inventory (that is, it does not filter).
|
| Format | Indicates the face's format (for example, billboard, poster or scroller). |
| Selection | Indicates whether you have selected the face from the filtered list. Selected faces will appear in the Package Builder or Proposal Builder if you open them from the Static Inventory page (see The Summary Panel). |
The static inventory in map view displays the locations of your faces on a map. If you have yet to narrow down your list, all faces in your inventory will appear. As you apply filters or select individual faces, those faces remaining will appear.
Note: If you apply filters to your faces while in Map View, and then select List View, the same filters apply. In other words, those faces that appear in Map View will also appear in List View.
Note: Broadsign Direct integrates with Google Maps APIs and uses its UI controls.
Screen Inventory - Map View - Components
| Component | Description |
|---|---|

|
Use the Map Type control to select a map type (Map or Satellite). |

|
Use the Zoom control to change the zoom level of the map. |
|
Represents an unselected face from your filtered inventory list. |
|
Represents a selected face from your filtered inventory list. |

|
Represents a cluster of faces at or near the same location. If all faces at the location are selected, all three icons will appear green. |

|
Represents a cluster of faces at or near the same location. If all faces at the location are unselected, all three icons will appear white. |

|
Represents a cluster of faces at or near the same location. If some (but not all) faces at the location are selected, the foremost icon will appear white. The remainder will appear green. |

|
Use the Street View control to enable Street View. To see your locations in Street View, drag the Pegman icon onto the map. |
As you filter your results and select individual faces, this panel displays a summary of your selections.

The Summary Panel Sections
| Section | Description |
|---|---|
|
Indicates the total number of screens that you have selected from your inventory list. |
|
Based on your rate card information, indicates an approximate price for a proposal made up of the screens you have selected. For more information, see Add and Edit Rate Cards. |
|
Based on your first-party audience data, indicates the total number of people your selections can target. For more information, see Import Audience Data. |
|
Based on the "Cost per Thousand" (CPM) information included with your screens. |
|
If you select Export to CSV, you can export your filters or your faces in CSV format. If you select Package, the Package Builder opens. It will include the screens you have selected and the ad flight information you have entered. For more information, see Package Builder. Note: Only users with the Manager or Admin role can add or edit packages. See User Privileges by Role. If you select Proposal, the Proposal Builder opens. It will include the screens you have selected and the ad flight information you have entered. For more information, see Proposal Builder. |
The Booking level of faces widget displays the availability of faces in your narrowed list (see The Filter Panel and The Flight Duration Selector). You can select to display information "per day" or "per week".
For a booking level widget that applies to all faces on your network, see Booking Levels of Screens Widget.
Note: Once you have booked a proposal, it will appear as dark green (see below); however, your scheduling team still needs to confirm the proposal before it is considered fully booked.
-
light green area: Represents held proposals on a specific day, from your narrowed list. Hover over the light green area to see the percentage of held proposals for that day.
-
dark green area: Represents booked proposals (campaigns) on a specific day, from your narrowed list. Hover over the dark green area to see the percentage of booked proposals (campaigns) for that day.

