Add and Edit Users
This page describes how to add and edit users in Broadsign Publish. For more information about users, user groups, and permissions, refer to About Users and Groups.
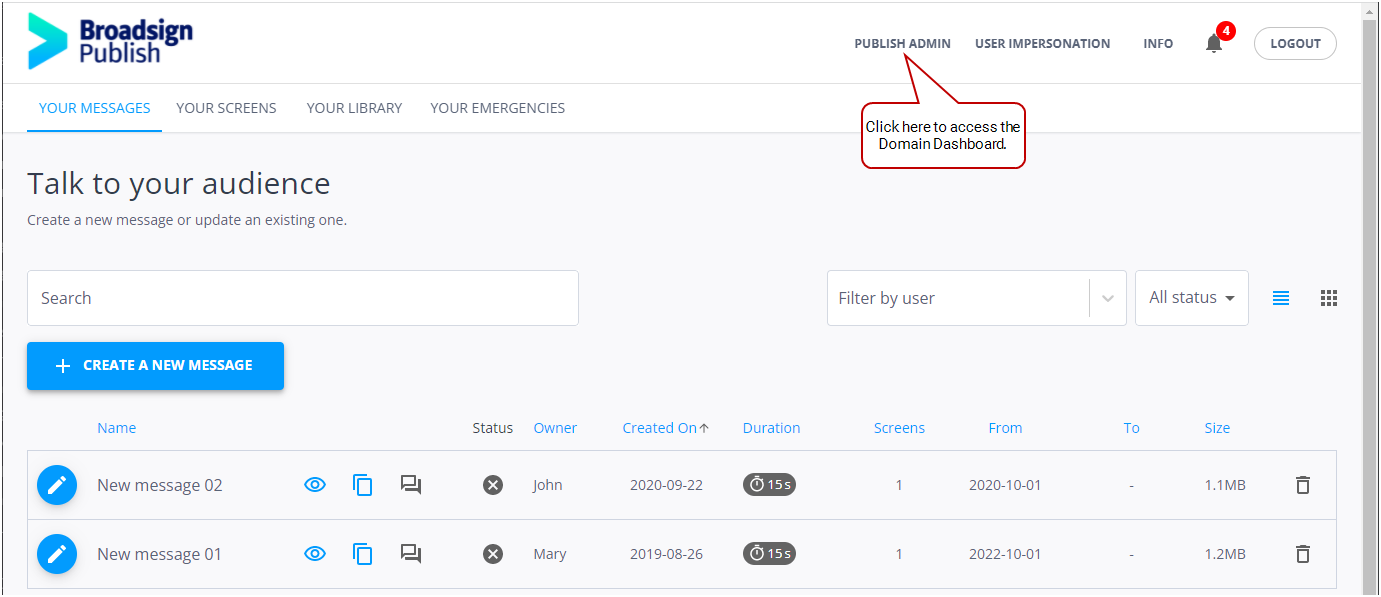
Note: The Domain Admin page can only be accessed by users assigned the Administrator page access. See Level of Access.
The following tasks can be performed:
- Create a user (see Add a New User)
- Activate an emergency message without logging in to Broadsign Publish (see Enable Emergency Message Activation by SMS)
- Assign an access level to a user (see Define the Level of Access of a User)
- Add users to user groups (see Assign a User to User Groups)
- Assign some permissions to a user (see Assign Permissions to a User)
- Define whether a user will manage groups or users (see Define Groups and Users Management)
- Delete a user (see Delete a User)
As a user with Admin credentials, you can add new users and edit other existing users. You can also provide a user Admin credentials.
To add a user:
- Using the admin login, go to the Dashboard.
- Under Accounts, click Users. The Users page opens.
- To add a user, in the top-right corner click Add User. The Add User page opens.
- Enter the following details:
- +15143991184
- +33123456789
- Do one or more of the following:
- Assign this user to one or more groups (see Assign a User to User Groups)
- Assign specific permissions to this user (see Assign Permissions to a User)
- Define any user or group management (see Define Groups and Users Management)
- Click one of the Save buttons:
- Save and add another: Saves the current user settings and prompts you to add another.
- Save and continue editing: Saves the current user settings and allows you to continue editing it.
- Save: Saves your changes and returns you to the Users page.
Parameter | Description |
User's email address. | |
Password | User's password. |
Password confirmation | Same password as before, for verification. |
Cell phone number |
Mobile number that will only be used to activate emergency messages by SMS. The number must use the International Dialing format: [country code][area code][phone number], without spaces or special characters. For example: For more information on what is required to activate an emergency message by SMS, see Enable Emergency Message Activation by SMS. |
Enable self-service password reset | Whether this user can reset their own password. This option is checked by default. If you uncheck the box, that user will not be able to go through the Reset Password procedure. The user will need to contact you. |
Enable email notifications for comments | Enables this user to receive email notifications when comments are posted. If you uncheck the box, that user will not receive email notifications. However, comments notifications will still be published in the Notification Center. |
Enable email notifications for approval workflow | Enables this user to receive email notifications when the approval workflow is required. If you uncheck the box, that user will not receive email notifications. However, approval workflow notifications will still be published in the Notification Center. |
First name | First name of the user. |
Last name | Last name of the user. |
Time group | If applicable, add the user to a specific time group. A time group allows network operators to allocate time to different users on the same screen. For more information, see Manage Time Groups. |
Client Group | If applicable, add the user to a specific Client group. A Client group allows to show or hide messages to select users on the same instance of Broadsign Publish. For more information, see Manage Client Groups. |
It is possible to activate an emergency message without logging in to Broadsign Publish. This is done by sending an SMS. A security guard, for instance, could activate the emergency message from his mobile as soon as an emergency occurs.
Warning: Standard carrier fees may apply depending on your region or contract.
The following requirements must be met to activate an emergency message by SMS:
- The emergency message must have already been prepared. For more information, see Prepare an Emergency Message.
- An activation code must be set when preparing the emergency message, in the Confirm page of the Message Creation Wizard. For more information, see 4- Review and Confirm the Message.
- The user's mobile number must be defined in the user settings. For more information, see Add a New User.
- The user must have the Can activate an emergency message permission. For more information, see Users and Groups Permissions.
- The user must know the number where to text the activation code: +1 (647) 371-0911.
Depending on the role that the user will have, different levels of access can be assigned. For more information, see Level of Access.
Note: Only users with the Can manage groups permission can manage existing groups of users. If you need this permission, contact your domain administrator. For more information, see Users and Groups Permissions.
Note: Only users with the Can manage users permission can manage existing users. If you need this permission, contact your domain administrator. For more information, see Users and Groups Permissions.
To define the level of access:
- Using the admin login, go to the Dashboard.
- Under Accounts, click Users. The Users page opens.
- On the Users page, click the email address of the user for which define the level of access.
- Under Permissions, select the appropriate level of access for this user by clicking the corresponding check-box.
- Click one of the Save buttons:
- Save and add another: Saves the current user settings and prompts you to add another.
- Save and continue editing: Saves the current user settings and allows you to continue editing it.
- Save: Saves your changes and returns you to the Users page.
The Change user page opens.
This table describes the access that can be assigned to users:
Permission | Description | Network Operator | Local Admin | Local Operator |
---|---|---|---|---|
Active | This user can access Broadsign Publish. When deleting users, it is suggested to uncheck this permission instead of deleting users, to keep a reference. |
![]() |
![]() |
![]() |
Administrator | This user can access the Domain Admin page of Broadsign Publish. This user can also manage content and messages from other users listed in the user management list. |
![]() |
![]() |
|
Is network operator | This user can access the Domain Admin page of Broadsign Publish and the Insights page. This user can also manage content and messages from other users listed in the user management list. This user can impersonate other users. |
![]() |
Members of a user group inherit the group's permissions. Being part of a user group also allows organizing and speeding up the access share process. If content is shared to a group, all its members have access to this content.
To assign a user to a user group:
- Using the admin login, go to the Dashboard.
- Under Accounts, click Users. The Users page opens.
- On the Users page, click a user to assign to a group.
- Under Permissions, navigate to the Groups section.
- Select the groups to which the user will be part by moving the groups on the right.
- Click one of the Save buttons:
- Save and add another: Saves the current user settings and prompts you to add another.
- Save and continue editing: Saves the current user settings and allows you to continue editing it.
- Save: Saves your changes and returns you to the Users page.
The Change user page opens.
The permissions are cumulative. The user will inherit all the permissions of all the groups of which they are a member.
You can assign individual permissions to a user. They will be in addition to any group permissions that the user has. For more information, see Users and Groups Permissions.
To assign permissions:
- Using the admin login, go to the Dashboard.
- Under Accounts, click Users. The Users page opens.
- On the Users page, click a user to which assign permissions.
- Under Permissions, navigate to the Permissions section.
- Select the permissions that you want to assign to the user.
- Click one of the Save buttons:
- Save and add another: Saves the current user settings and prompts you to add another.
- Save and continue editing: Saves the current user settings and allows you to continue editing it.
- Save: Saves your changes and returns you to the Users page.
The Change user page opens.
For more details on each permission, see Users and Groups Permissions.
You can define whether a user will manage groups or users. The user, based on their permissions, can perform the following tasks:
- Approve content
- Share content
- Update user group settings
- Delete a user
To define groups and users management:
- Using the admin login, go to the Dashboard.
- Under Accounts, click Users. The Users page opens.
- On the Users page, click the user to which assign management rights.
- Under Permissions, navigate to the Permissions section. Ensure that the user has the Can approve content permission, otherwise this user will receive emails without being able to approve.
- Navigate to the Groups / Users Management section.
- In the Groups part, select which groups the user will manage. This will make the user approver of any content that users part of the managed groups will upload. For more details, see Approve or Reject Content from Email.
- In the Users part, select which users the user will manage. This will make the user approver of any content that the managed users will upload. For more details, see Approve or Reject Content from Email.
- Click one of the Save buttons:
- Save and add another: Saves the current user settings and prompts you to add another.
- Save and continue editing: Saves the current user settings and allows you to continue editing it.
- Save: Saves your changes and returns you to the Users page.
The Change user page opens.
As a user with Admin credentials, you can delete existing users permanently.
Note: Only users with the Can delete user permission can delete existing users. If you need this permission, contact your domain administrator. For more information, see Users and Groups Permissions.
To delete a user:
- Using the admin login, go to the Dashboard.
- Under Accounts, click Users. The Users page opens.
- On the Users page, click the email address of the user to delete.
- Scroll down to the bottom of the page and click the Delete button.
The Change user page opens.
A confirmation page is displayed. Review the impacts of deleting the user. If everything is correct, click Yes, I'm sure.
The user is deleted.
To edit messages created by a deleted user:
When users are deleted, any message that they have created cannot be edited by other users in the same user group. To avoid that, do the following:
- Share the screen on which the message is playing with the user group or individual members of the user group (see Share a Screen or Screen Group).
- Assign the Can access player messages permission to the user group or individual members of the user group (see Edit a User Group and Assign Permissions to a User).
After you have added and edited users on your domain, you could continue to set up your domain: